Welcome to the RaceGorilla dashboard tutorial. In this tutorial we will explain to you as a race organizer how to use the RaceGorilla dashboard. RaceGorilla enables you to organize a manually timed race with live results. The only thing you need to have a great race, are a couple of volunteers (assistants) using their mobile phone.
Organizing a competition is never easy. Make sure to prepare and practice your race together with your team and equipment well before the event.
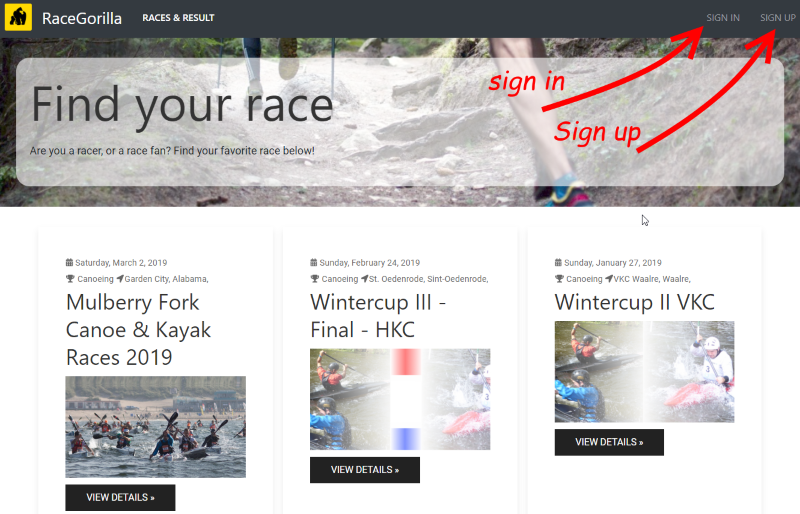
RaceGorilla home page
We will start this tour on the RaceGorilla home page. Here you have got a couple of options. For in this tutorial we are going to create and manage your own competition, so the most important buttons are in the upper right corner.
Sign up
Signing up for RaceGorilla is easy. You can sign up using the dashboard page, but you can also use the RaceGorilla Competition app sign in. It connects to the same software environment (database).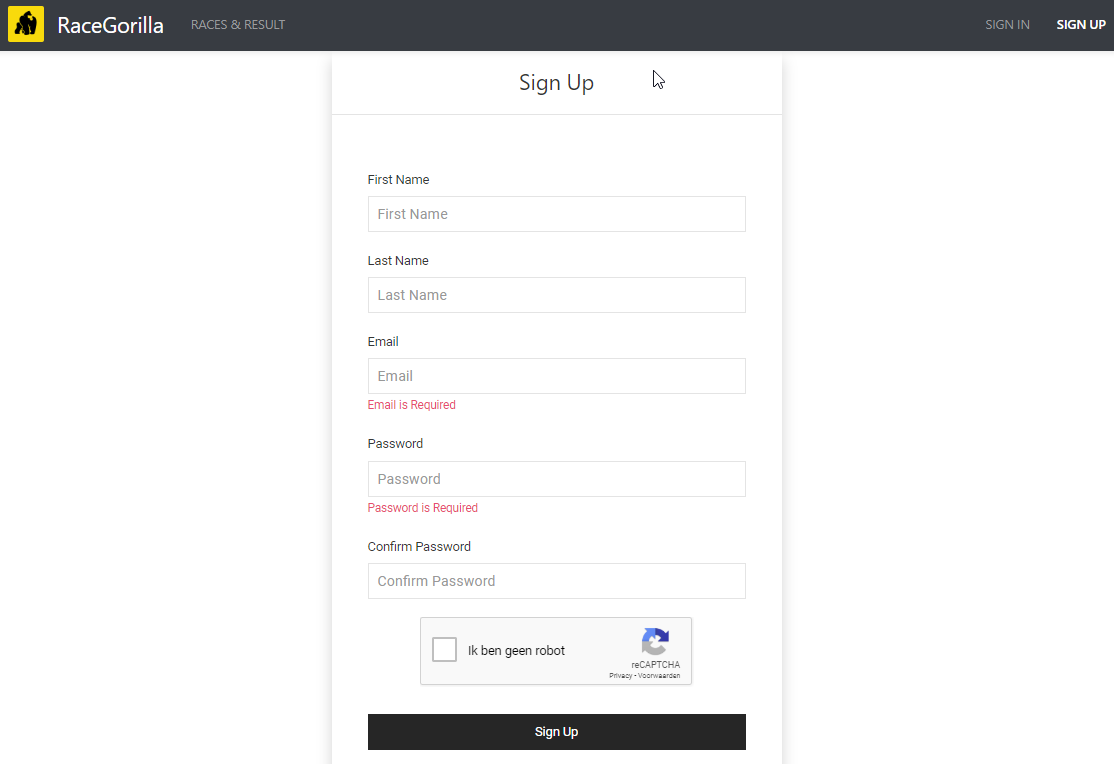
Sign in
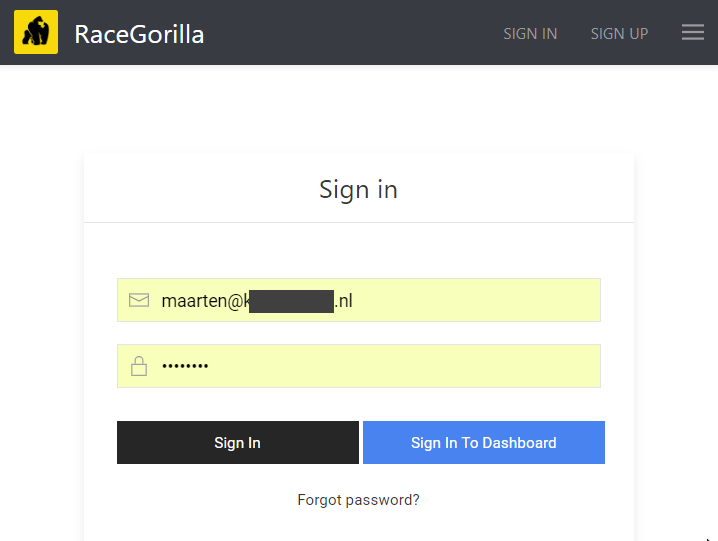
Sign in with the user name and password you just created in the sign-up process. You can either sign in to view your personal competitions and training results, or go to the dashboard and manage or create your competitions.
When you forgot your password you can click the “forgot password?” button.
The dashboard competitions page
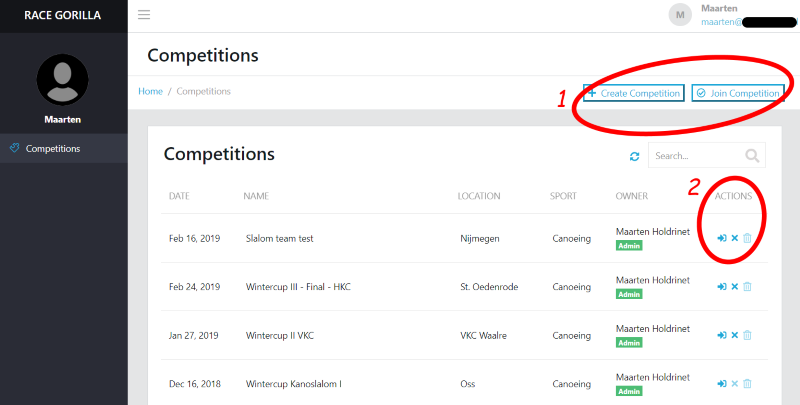
Before going into details, lets first have a look at the competitions page.
Here you have got basically two things you can do.
- Start a new competition by creating one. (1)
- Join an existing competition created by another organiser.(1)
- Enter, close or delete your previously created competitions (2)
Create Competition
When you want to use RaceGorilla for timing and results, you’ll have got to create it online first. Tap the Create Competition button. You’ll now enter the basic setup screen. You’ll just fill in the basics of your competition here. Later you can edit anything when needed.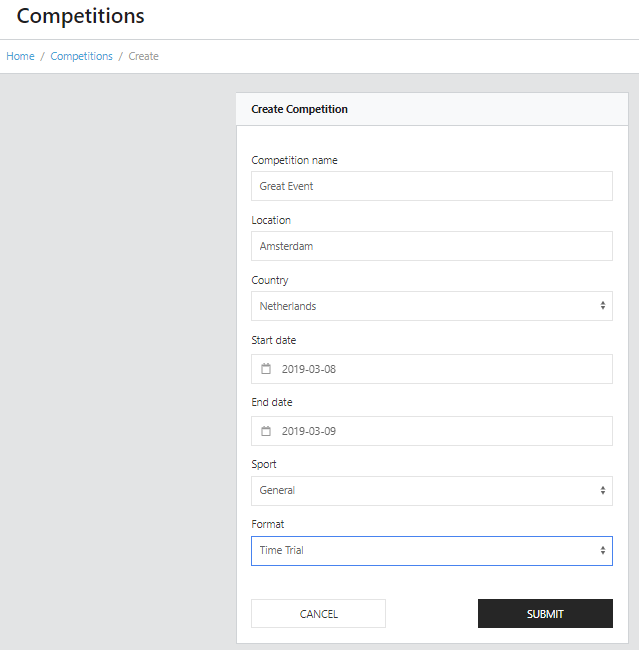
There are a number of preset race sports and formats. This is just to help you set up your competition faster. You can always edit your settings later. If you do not know what to choose, just pick “general” as a sport and either “mass start” or “time trial” as your format.
Open your competition
You can now open your newly created competition by clicking the ![]() icon in the competition list.
icon in the competition list.
Getting Started
On the left you will find your competition menu. from there you can navigate trough all sections of your event.
In settings You will find general competition information Such as name, date location. You will also see the competition ID and password, needed by the assistant to join a competition to help timing or judging.
One important setting is the Demo-Training-Competition setting, it defines the status of your competition. An official competition or training will be invoiced according to our pricing model.
The use of the software is free and fully functional to a maximum of 10 participant in the demo setting.
Further down in the setting section you will find some setting on how you want the times to be displayed and which parts of the results screen you would like to show.
In the team tab enables you as a competition admin to add and remove assistants. You can also edit the permissions and roles for your organizing team to a very detailed level.
Series is a very important section. Here you can configure you competition in a digital way. This is simple to start but cab get rather complicated as there are many race formats between all kinds of sports.
Here is a brief summary:
- Each competition starts with 1 serie with just a start and a finish.
- A start can be configured as an individual, Mass
- If you want you can add multiple splits to a track and name them according to their location or function.
- For some sports (slalom, obstacle running) judge sections can be added where judge points can be given.
- You can set the number of runs the participants have to do within one serie
- In some competitions there are multiple series to define. This can either be like in heats – semi final – final or like in an omnisports event of a 100m sprint, a 800m and a 5k. The sprint could be a 2 run event and the 5k could contain an extra split as well.
Note: the rounds can be seen as sub-competitions. The entire timing team has to select the same round in the competition menu in the app. A participant started in round one will only be visible for the finish when the finish has selected round one as well.
The locations can be set to provide an exact google maps location to be shown on the website
In categories you can define all categories or age groups you need. Be aware that the more categories you define, the more complicated your competition will be, especially in combination with a lot of series or rounds. To avoid many different categories, sometimes it is wise to use for example just Men and Women as 2 categories and add tags to the individual participants for their age group (see Participants section)
Races: for each category one race is created per run per serie if you have 2 categories and 1 serie of 3 runs (like in skiing), you will have 2*1*3=6 races.
This is important, because results per race are sometimes needed, but also the starter has to select the correct participant in the run, and round according to the competition format.
Each race will have a default name but can also be re-named if needed.
The Participant list can be uploaded by .CSV-file or copy pasted from an excel, google sheet or other form. When the headers are like in the default settings this is an easy process. Sometimes it requires some adjustment of the file. Make sure to use the same category names in your upload as just entered at the Categories section. Also the country names have to be provided in English.
Example start list:
| Bib | First Name | Last Name | Gender | Category | Tags | Club | Country |
| 1 | James | Watson | male | Men | U19 | ABC | Australia |
| 2 | Claudia | Leonard | female | Women | Ajax | France | |
| 3 | Markus | Brummer | male | Men | Real Madrid | Germany | |
| 4 | Maria | Da Silva | female | Women | Juventus | Spain |
A Start list can be printed prior to the race per run or category.
The Media section contains the header picture of your results page. You can upload it here.
During the Competition
The most important part is the time and score control section during competition itself. While your team is out on the road to time the participants, the chief timing (often you as the organiser or race manager) can see if all times are recorded and registered well. If needed, results can be reset, edited or the status of the result can be changed. for example:
- If a participant is not starting, change the status to DNS
- If a participant leaves the race, change status to DNF
- If a participant gets disqualified, change to DSQ.
If you have a backup timing system available times can be entered manually.
Sometimes when the finisher or starter makes a mistake times have to be swapped by copy pasting the times.
Anything can be changed here, so be careful who to grant access to the dashboard!
After the competition is done, in the print section the results can be printed.
Practice your setup
After you have set u your competition, it is very important to train your team of timing and scoring assistants. This can be done using either a demo competition, a test category and race or using the real data.
After practicing any scenario you can imagine, you can delete your training data. You can delete a (-couple of-) individual race results in the times and score control section, by selecting the round reset arrow to the right of the participant result.

If you want to delete an entire race (or multiple races), you can do so in the race section. Here you can find the round reset arrow to the right of the race name.
A race result that has been reset can not be restored.

Thats all in a nutshell.
Good luck practicing the app and the dashboard functionality.
Make sure to engage your entire team in the preparation and practicing process.
Only an experienced team can deliver a good event. If one member fails the entire competition could be in trouble.
Be prepared!

