Time needed: 30 minutes
The RaceGorilla BlueBox firmware might need an update sometimes. In this instruction you can read how to update your BlueBox using the Arduino sketch uploader software.
This manual is written for the BlueBox-GPS. For the BlueBox-Alge and Tag Heuer, the hardware is different, but the steps are more or less the same.
The Arduino software is open source, so it is possible to make changes. Suggestions to improve are always welcome!
- Check the software version
For the Bluebox-GPS, the version number can be checked in the display. Th current version is: 3.1 of February 2021
For the BlueBox-Alge and BlueBox-TagHeuer, it is not possible to check the version number. The latest release is from February 2021
Ask for the latest firmware version at support@RaceGorilla.com.
Save the firmware including the directory on your computer.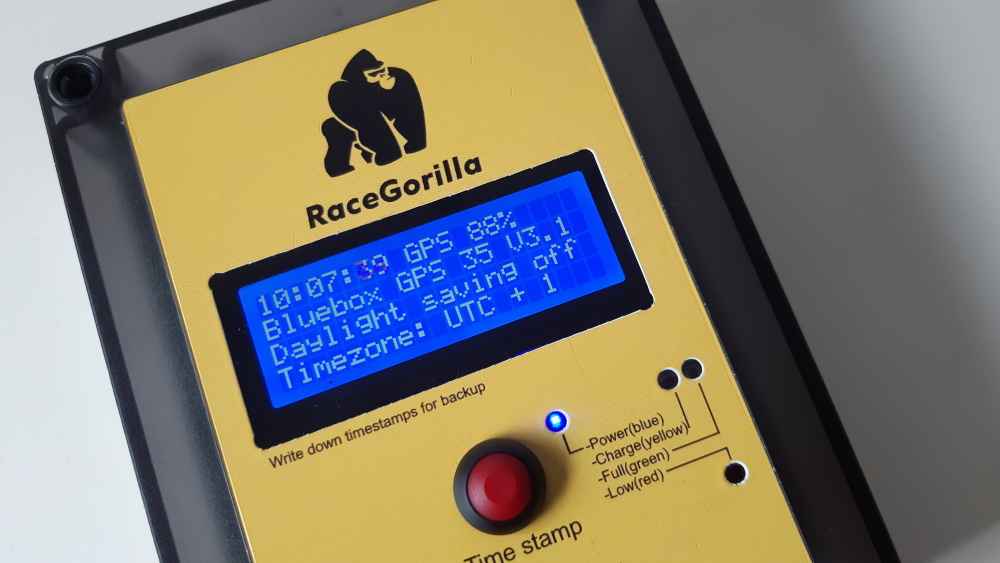
- Download and install the Arduino software
Go to www.arduino.cc and install the Arduino IDE software on your computer.
- Load the firmware
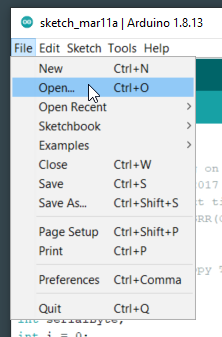
Open the Arduino IDE software and load the firmware (the Arduino “Sketch”).
- Connect the Arduino to your computer
Open the BlueBox carefully and Take out the Arduino-Nano of the BlueBox.
Avoid static electricity, so be careful and do not touch the electronic components (chips) directly.
Connect the Arduino to your computer using a USB A to micro USB cable.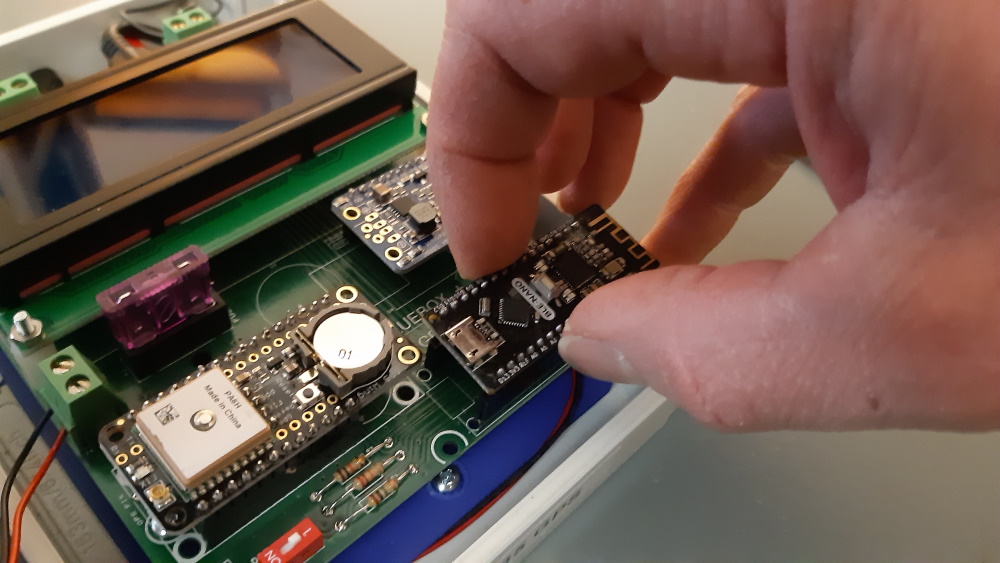
Be aware that some cables are only meant for charging. Other cables are suitable for charging and data transfer. Only the second type of cable works for a software update.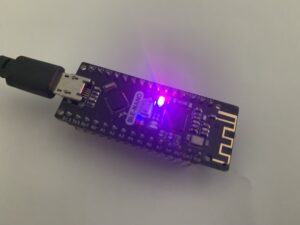
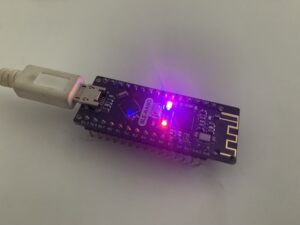
On the left a Arduino board can be seen with a charging cable (only top light is on). On the right the same Arduino board can be seen with a cable suitable for charging and data transfer (top and bottom lights are on). - Choose the board-type
Choose the correct b+oard type: Nano
Go to: Tools>Boards>Arduino Nano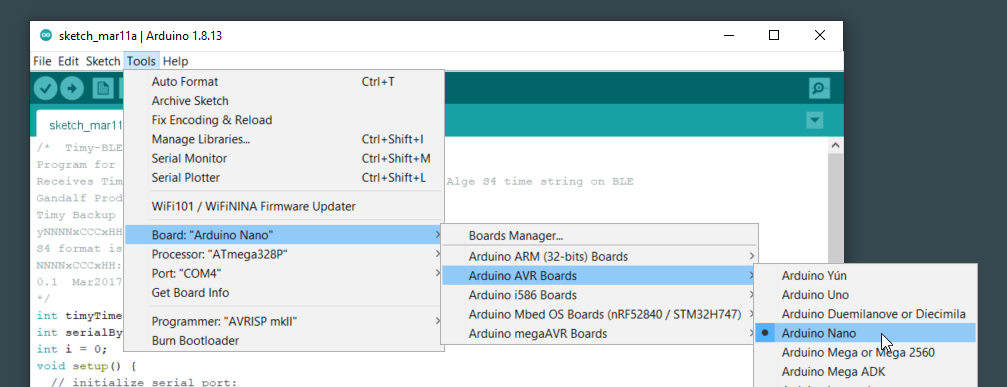
- Choose the correct USB port
The Arduino Software will detect the Arduino device automatically. Select the correct USB-port.
Go to: Tools>Port>Select USB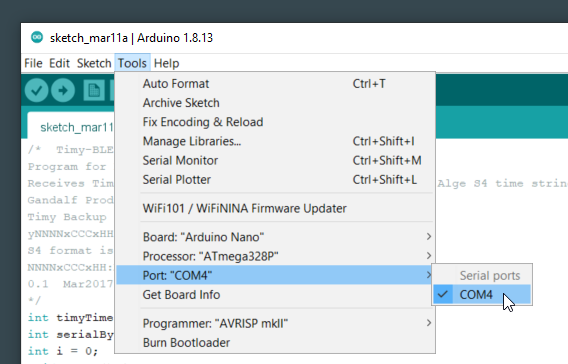
- Import library (GPS BlueBox only)
The sketch for the GPS BlueBox imports several libraries. Which can be found in the top section of the sketch file.

The ‘Adafruit_GPS’ library needs to be imported before the firmware can be updated. To do so go to:
Tools >> Manage Libraries
Then enter ‘Adafruit_GPS’ in the search bar and click ‘Install’.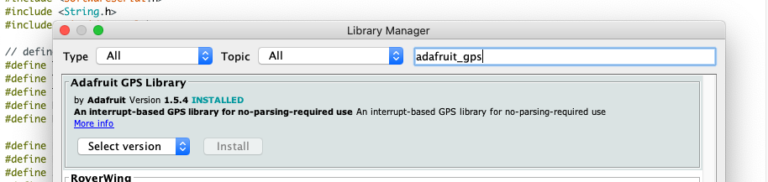
Once installed you can close the ‘Library Manager’. - Update firmware
Upload the firmware. Use the arrow in the top bar, Use CTR+U or go to Sketch>Upload.
The LED’s on the Bluno will start blinking for a while.
In the status bar there will be a message when the upload is successful.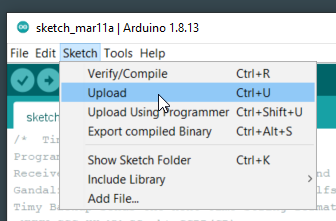
- Place the Arduino Nano back into you Bluebox
Gently place back your Arduino into the BlueBox. Make sure to fit the Arduino into the correct pin slots and not to bend the pins.
- Close the Bluebox
Close the box and you are ready to go again!